about more than muses
The beginning stage of this project (which resulted in me creating 14 portraits that I then animated to draw in and assemble) expanded over my spring semester of my senior year of college and served as my thesis project. A big reason for why I wanted to take on this project was the fact that I hadn’t done very much illustration work during my college career, and even less of actual people. I also realized that although I attended a “women’s college,” I only knew the usual suspects as far as female artists—Georgia O’Keefe, Frida Kahlo, a few others—but that when I started looking for more, they were so incredibly easy to find! (This observation is less a condemnation of my college and more a call-out of artistic academia in general.)
My process for finding these first 14 women was very basic—I’d Google something like “women art educator” and choose from there, or I’d think back to those classes where I did actually learn about a female artist and look up their contemporaries. Some women were creators I had come across in classes that we went over passingly but made a lasting impact on me—Kara Walker, Hannah Höch, and Properzia de’ Rossi are a few examples of this. From there, I found a portrait of the creator, preferably with their work, on which to base the line art for their portraits. (Find more about my process below.)
I believe all of these women are important figures to become familiar with, but they are by no means the only women creators we should be learning about. That brings me to the fact that I want this project to continue growing in perpetuity so long as I have access to the materials I created the portraits with. A big part of that is having this website opened up to suggestions and submissions from visitors, so that I can add artists that I haven’t come across and that I might not ever learn about without someone bringing them to my attention.


project process
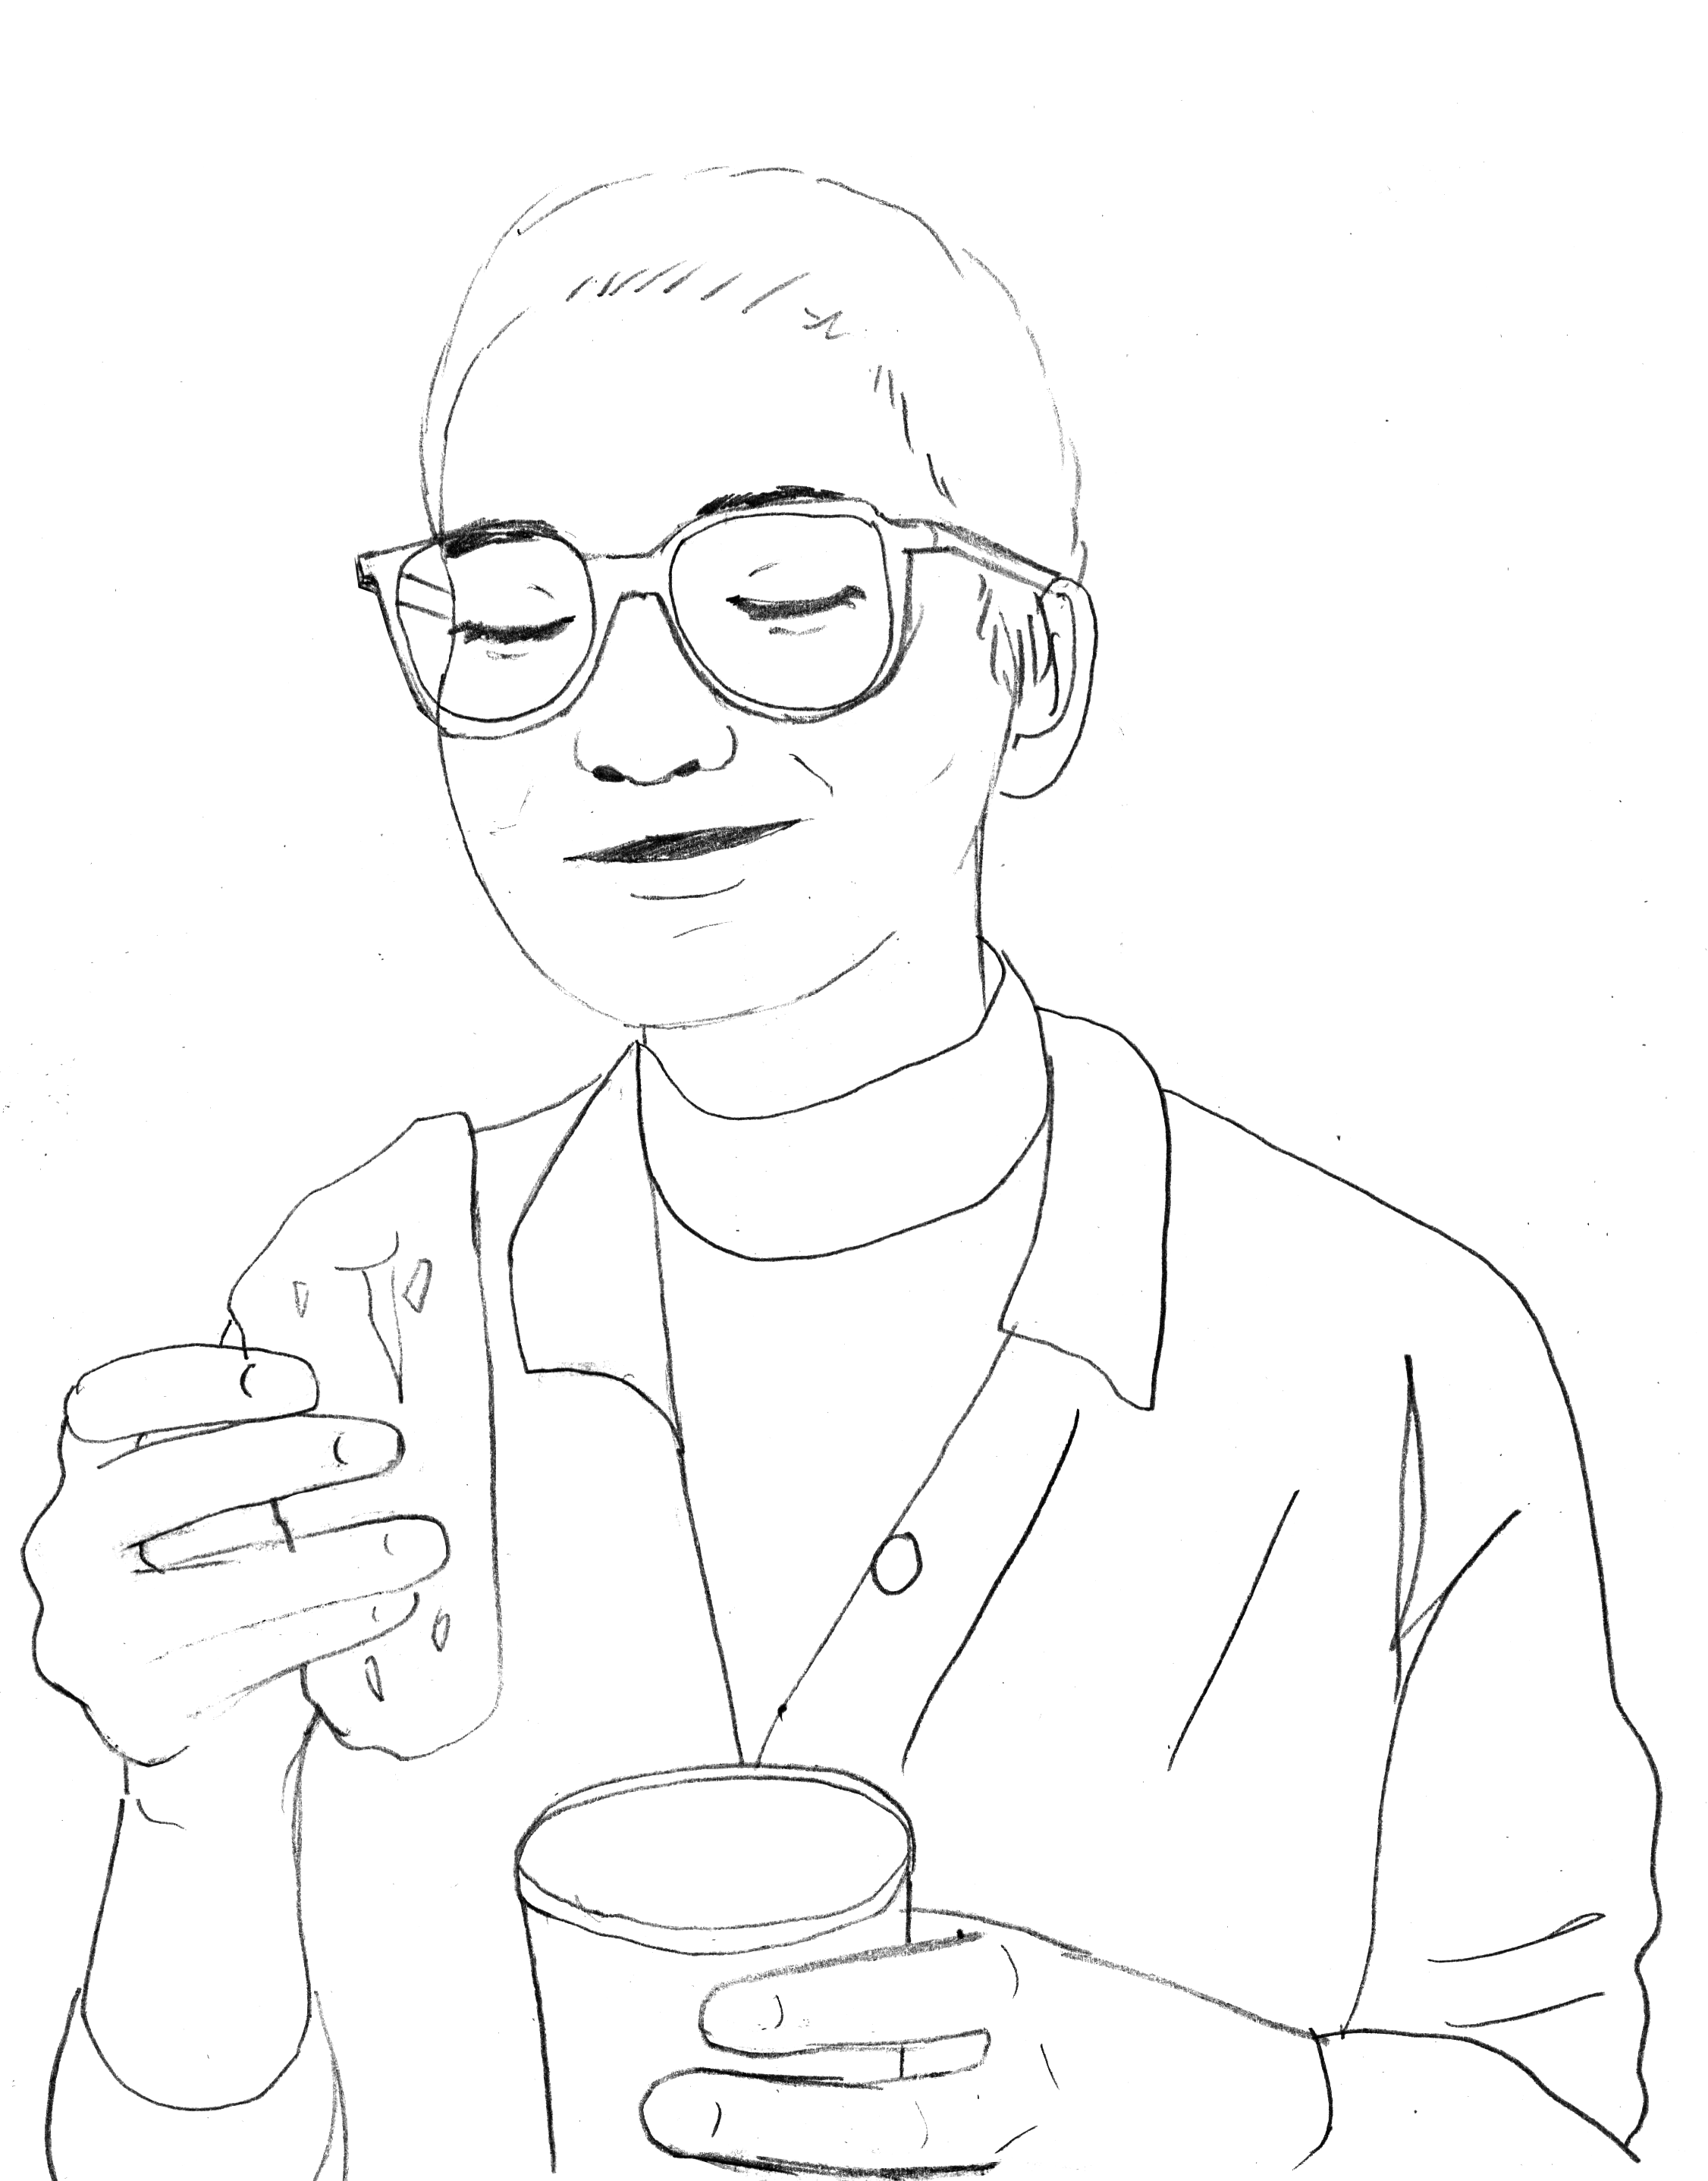
Draw lineart. Since I am not an illustrator, and the final product would not heavily rely on me reproducing the original portraits with absolute fidelity, I used a light table and some creative license for this step.
Scan lineart in, edit in Photoshop. I’d bumped up the levels and cleaned up anywhere that my eraser didn’t do its job, or where I may have created a tangent or in my creative freedom had gone a little too far and crossed a line, literally.
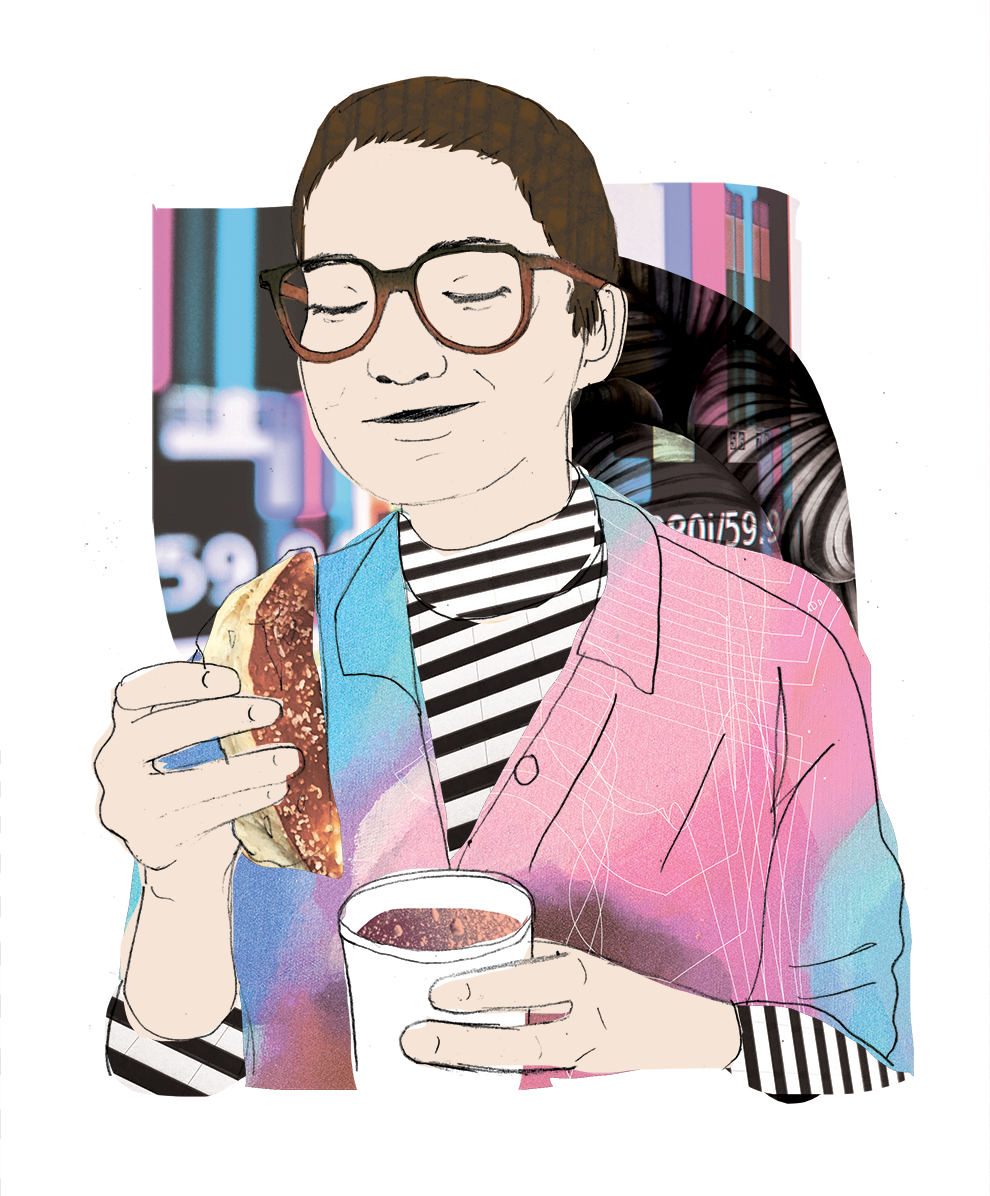
Gather imagery from Unsplash relating to the artist. Unsplash is a collection of creative commons photography and I don’t think I could have created the same finished pieces without access to all the wonderful photography there. I’d search for photos relating to the materials the artist worked with, or the subject matters they depicted, or things that represented era or place they worked in.
Collage! The collaging process could take anywhere from half an hour to three hours, because of different compositional tests and depending on the amount of objects depicted in the lineart and how many different photos I wanted to bring in. I created all portraits before starting the next step.
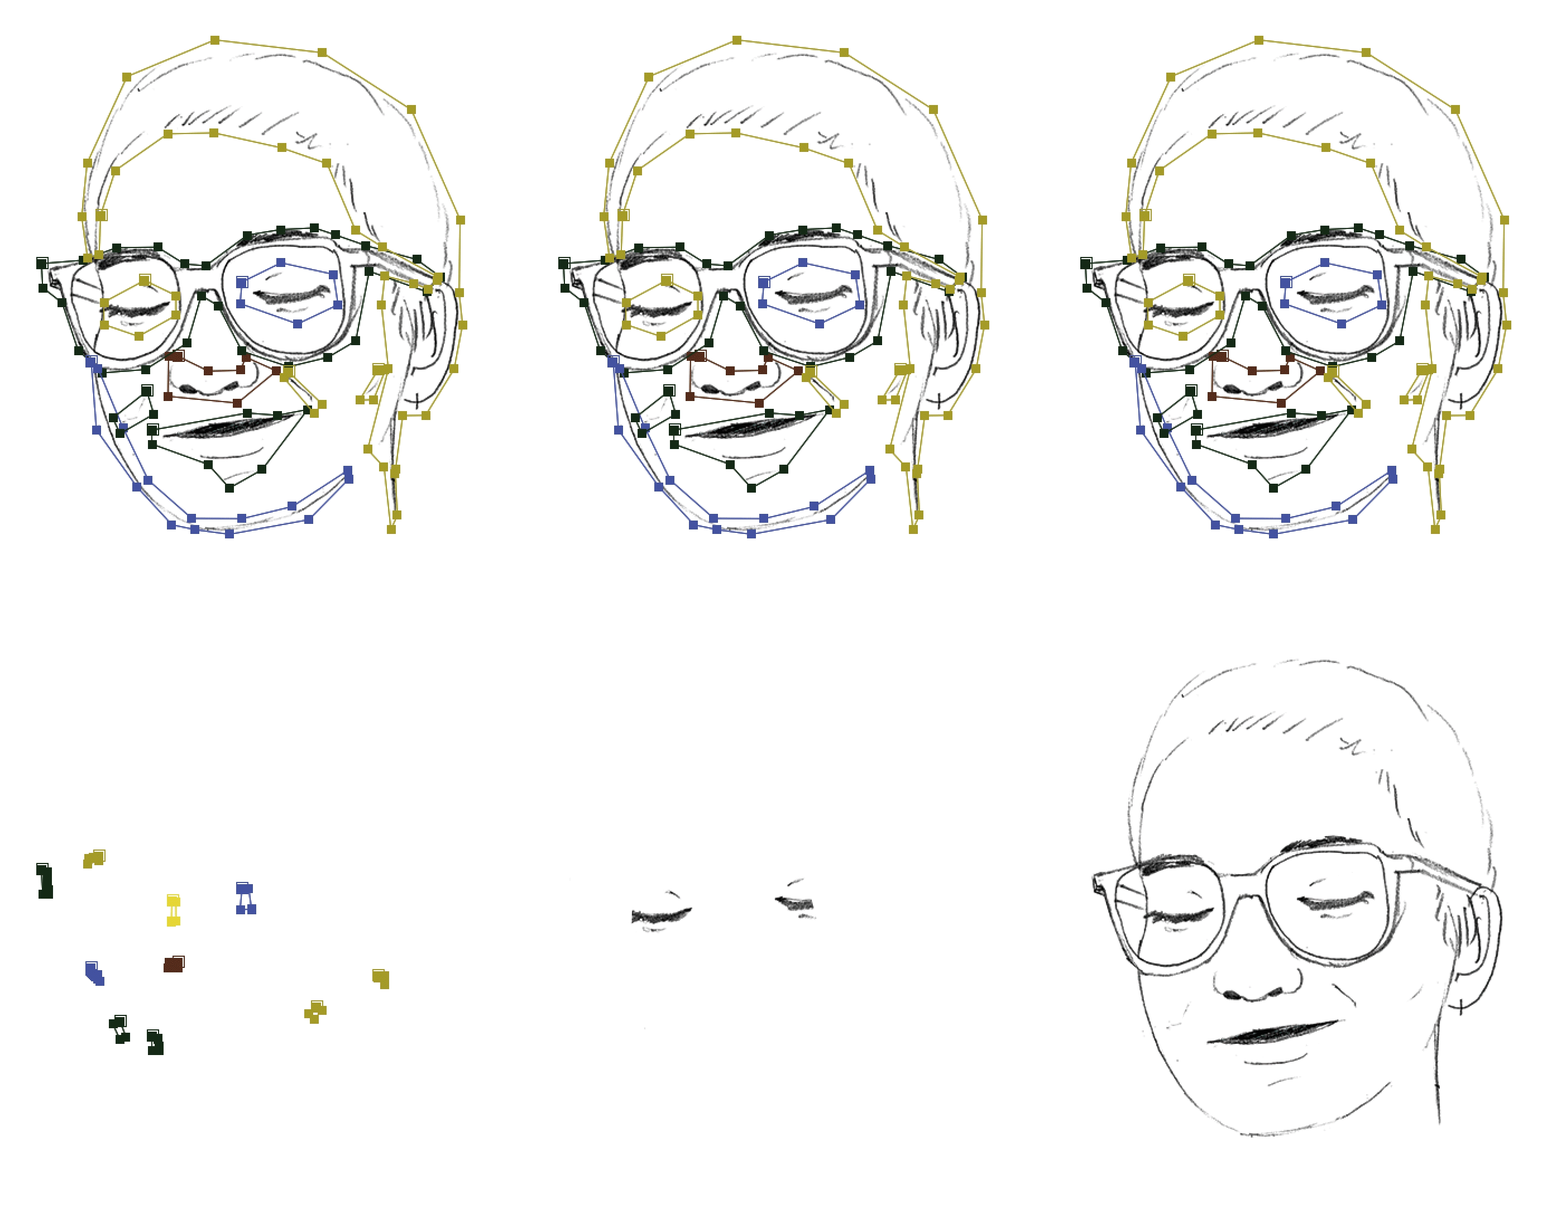
Draw masks for lines. For this step, I’d bring in the lineart layer of the portraits to After Effects and mask each section of lines, starting with the eyes and moving outward. This step took anywhere from an hour to four hours depending on the detail of the lines. Then I’d duplicate the layer, move the top one forward about ten frames, and then set the lower level to 40% to make the lines flow in a little more organically. I animated all portraits’ lines before starting the next step. (Halfway into this step, I began coding the project’s website!)
Bring in collage pieces. After the lines are done, the rest of the animation process is very simple—bringing in the colored pieces of the collage and fading them in from 0% to 100% opacity. There is always a little bit of adjusting for timing and making sure nothing is coming in without the necessary context of the shapes around it, but this went at a quicker hour or two.
Render. The least involved step—Export Add to Render Queue, and a few seconds to wait for the After Effects file to be renderd into a .mov file, which I would then take into Photoshop.
Convert .mov to a .gif in Photoshop, which I then uploaded to the website and added to the creators’ respective pages.